

Top 3 Video Editors to Overlay a Logo on a Video
Want to place your company logo on the footage but are not sure where to begin? It is a common issue for vloggers, business owners, and anyone attempting to personalize their video and keep it from unauthorized use and copying. Adding a logo to a video is a great way to brand your content and make it easily recognizable.
There are lots of video editing programs available on the market, but only some of them are user-friendly yet powerful and let you overlay logos without any hassle. To take care of you, I have handpicked the top 3 examples of must-have video editors for you in this context. Below, you will find detailed reviews of the programs, as well as their key perks and drawbacks. What’s more, you will get step-by-step guides on how to put a logo on a video using each program. Without further ado, let’s jump right in.
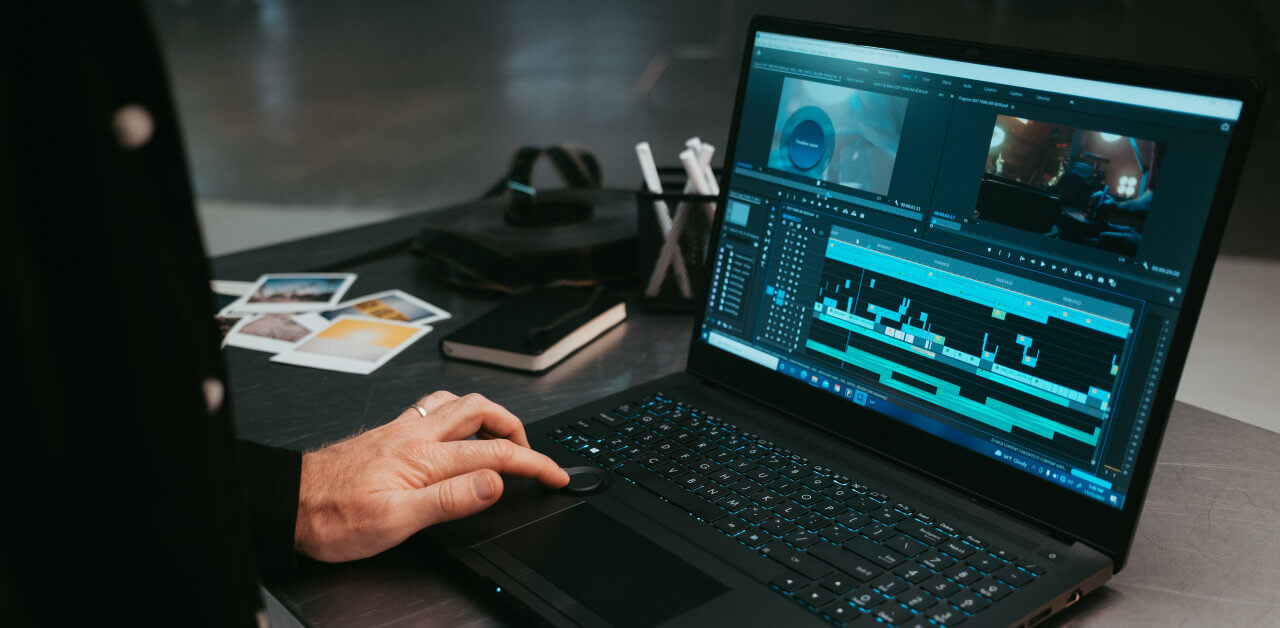
1. VSDC
VSDC is a robust video editor available on Windows PCs only. It comes with a decent set of editing features, including a 360-degree editing tool for your 3D footage, an AI Art Generator, and a Chroma Key. The program is also capable of audio processing and video & screen captures. Its rich collection of stylish filters, effects, and transitions will be of great help to beginners for fast color correction and video creation. However, the program’s interface is cluttered with lots of little buttons, and some features are tricky to find, so it may be quite difficult for novices to handle.
Pros
- Comes with built-in effects for audio & video
- Has a completely free version with no watermark
- Offers high-quality rendering in a variety of formats
Cons
- Has a steep learning curve
- Too many features are hidden in submenus
How to Add a Logo to Videos with VSDC
- Get the installation package of VSDC from the official website. After downloading it, follow the instructions to launch the software.
- Open the program and click the Import Content button. Select the footage you want to upload from your PC library. Adjust your project’s settings (add a title and an author, type a description, and pick its resolution) and hit the Finish button.
- In the upper left corner, click on the Add Object button and choose the Image option. Select your logo file and click Open.
- In the Object Position Settings window that pops up, choose the Add New Layer and Whole Parent Duration options and press OK.
- Adjust the position and size of your logo. You can also modify its opacity. To do that, in the Tools section of the toolbar, click More Tools, and set the desired opacity with the slider.
- Go to the Export Project tab and pick the output video format. You can save your video for PC, DVD, smartphone, web, or game console. Click the Export Project button to convert your video to the chosen format.
2. Clipify
Clipify is user-oriented video editing software that lets you add a logo to your video and much more, regardless of your skill level and hardware power. It comes with an extensive toolset allowing you to trim, split, merge, color-correct your footage, enhance it with captions and stickers, as well as add some background music. Complete novices will enjoy the easy drag-and-drop workflow and the automatic Wizard tool, while professionals will appreciate the simplicity of use for Chroma Key, Curves, stabilization, voice-over recording, and webcam capture. The program also includes a ton of stunning effects, transitions, fonts, and cliparts. Clipify is available on Windows PCs only, though.

Pros
- Has an automatic Video Wizard
- Comes with a built-in library of 200+ royalty-free soundtracks
- Offers 30+ export formats in high quality
Cons
- Layer editing is quite limited
- May lag while processing large files
How to Overlay a Logo on Videos with Clipify
- Visit the official website of Clipify and download its installation package. Follow the installation wizard’s guidance to run the video editor.
- Open the software after installing it on your PC and create a new project.
- To import your footage, you can either drag & drop it on the timeline or click the Add Videos and Photos button to upload it from the folder.
- Go to the Clipart tab and click From File to choose your logo. Place the image where you like and adjust its size and opacity. Make sure to modify the logo’s duration on the timeline.
- Click the Create Video button to save your branded video. Pick the type of clip you need. You can export your creation as a Full HD clip for various devices: TV, iPhone, Android, PC, and even PlayStation & Xbox. You may also optimize your footage for uploading to YouTube, Facebook, and other video hosting platforms, or burn it to a DVD with an interactive menu.
3. FlexClip
And last but not least, FlexClip. It is a simple yet comprehensive web-based video editor that is great for creating short video projects without spending too much time, even for those with little editing experience. It comes with a ton of dynamic vector elements, transitions, and text animations for easy video enhancement. Split, trim, and crop your videos, record voiceovers and webcams, and even turn your text into speech. Bring your footage to the next level with handy overlays to add an animated title, a logo, a quote, or contact info. With FlexClip, you can speed up the video creation process and create almost anything (from promotional product demos and commercials to travel vlogs and video invitations), thanks to dozens of pre-designed templates for various purposes and occasions.

Pros
- Has a straightforward interface, suitable for beginners
- Includes unlimited stock media: royalty-free music, high-quality photos & video
- Comes with pre-designed logo overlays
Cons
- Lack of advanced video processing features
- Output formats are limited
How to Put a Logo on Videos with FlexClip
- Open the website page and click the Start From Scratch button.
- Drag & drop your footage into the Import Media window that pops up. Then add it to the timeline.
- Go to the Overlays tab and choose one of the Logo Overlays styles. Just click on it to add it to your video.
- Click Replace above the video preview and select your logo from your local files. Modify its size and placement. To change the opacity of your logo, click the circle icon above the preview window and adjust it with the slider.
- Since FlexClip is an online platform, you first need to create an account (if you haven’t already) to download your creation. Click the Export button and choose the preferred option for signing up. You may download your video to your PC or share it via YouTube, TikTok, or a link.
Final Thoughts
Now you know how to add a logo to a video using the following software options: VSDC, Clipify, and FlexClip. As you can see, each video editor has its own unique set of features, benefits, and downsides. So, explore the overview to pick the program that best fits your needs, preferences, and skill level. Then just follow these simple steps mentioned above and take your content to the next level.
About the Author

Helen Smith is a travel enthusiast and editor specializing in photography and technology. With expertise, she always strives to provide readers with a clear and straightforward approach to solving complex issues.


