

WP-CLI – How to Quickly Deploy WordPress from the Command Line?
Managing WordPress from the command line allows for quick and convenient modifications while bypassing the CMS control panel. WP-CLI was developed in such a way as to enable lightning-fast control of your website – without the need to launch a browser. Discover the capabilities of this tool.

Managing a site based on WordPress is simple and intuitive – it’s one of the main advantages of this CMS. The dashboard was designed so that almost anyone can easily understand it – even without prior experience in creating or managing a website.
And this is where the challenges begin. After all, a webmaster has completely different requirements than a user clicking through the site in a WYSIWYG editor. Manually making changes in the panel is time-consuming – entirely unoptimized from the perspective of a web developer’s work.
That’s why WP-CLI was created, a tool for managing WordPress from the command line. See what it can offer you.
WP-CLI – what is it?
WP-CLI is a solution primarily designed for developers and webmasters managing one or multiple WordPress installations. If instead of clicking through things in the panel, you’d rather simply enter them in the command line – I don’t even need to convince you to use this tool. You’re probably expecting it to be much more convenient for you.
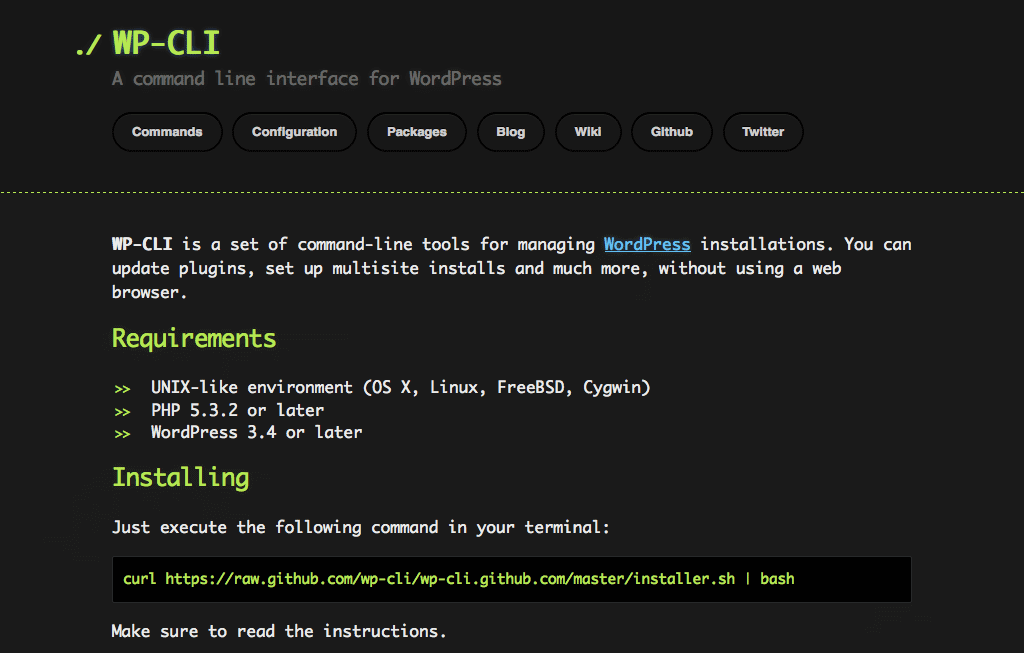 Managing WordPress from the command line is possible thanks to the WP-CLI interface.
In line with the authors’ intentions, the goal of WP-CLI was to enable the execution of all actions available at the administrative panel level – using the command line. As a result, with this tool, you can:
- install, deactivate, uninstall plugins and themes;
- manage user accounts;
- change the size of graphic files;
- change and manage language packs;
- create and edit posts.
Sounds interesting? In that case, be sure to keep reading.
How to install WP-CLI?
To use WP-CLI, you need access to the command line. You will need SSH access (Secure Shell). Not every shared hosting offers this solution, but some providers make it available for advanced users. With access to the command line, you won’t have a problem if your site is hosted on a virtual private server (VPS) or a dedicated server.
It’s possible that WP-CLI is already installed on your server. To make sure, type the following command in the command line:
php wp-cli.phar --info
or
wp --info
If you see a result showing the installed version of WP-CLI, you can skip the entire installation process below.
However, if WP-CLI is not installed on the server, you’ll need to do it manually. After logging into the SSH console, start by downloading WP-CLI to the server. To do this, enter:
curl -O https://raw.githubusercontent.com/wp-cli/builds/gh-pages/phar/wp-cli.phar
Next, check if WP-CLI works by typing:
php wp-cli.phar --info
Note! Even if WP-CLI is installed on the server, make sure it’s an executable file – i.e., entering the command wp will launch this program. However, this requires administrator rights, so you can’t do it on shared hosting.
To do this, enter:
chmod +x wp-cli.phar
sudo mv wp-cli.phar destinationfolderpath
After completing these steps, WP-CLI is active. Now you can start using this tool to manage WordPress-based sites on your server.
WP-CLI – deploying WordPress step by step
Thanks to WP-CLI, you can significantly save time needed to manage WordPress-based sites. You don’t have to log in to the dashboard to manage plugins, create users, etc. How does it work in practice? Let’s find out.
Using WP-CLI, you can install WordPress on your server. To do this, first, you need to download the WordPress core. Use the following command:
wp core download
The next step is to create a WordPress configuration file. For this, you’ll need a database (e.g., MySQL), which you must create beforehand.
wp core config --dbhost=localhost --dbname=DatabaseName --dbuser=User --dbpass=Password
The following options are used to define the database information:
--dbhost=localhost– specifies the database server host, in this case, “localhost” meaning that the database is on the same server as the WordPress installation.--dbname=DatabaseName– specifies the name of the database that WordPress will use. Replace DatabaseName with the actual name of your database.--dbuser=User– specifies the database user’s name, who has access to the database. Replace User with the actual name of your database user.--dbpass=Password– specifies the password for the database user. Replace Password with the actual password of your database user.
Next, simply enter the installation command with the appropriate details:
wp core install --url=https://yourdomain.com --title=Example --admin_user=admin --admin_password=password --admin_email=admin@yourdomain.com
Here’s a description of each option:
--url=https://yourdomain.com– specifies the URL of the WordPress site, which will be used as the default site address. Replace https://yourdomain.com with the actual URL of your site.--title=Example– sets the title of the WordPress site. Instead of Example, you can provide any title that represents your site.--admin_user=admin– specifies the username for the main administrator account. Instead of admin, you can choose any username.--admin_password=password– sets the password for the administrator account. Instead of password, provide the actual password you intend to use.--admin_email=admin@yourdomain.com– specifies the email address for the administrator account. Replace admin@yourdomain.com with the actual email address where notifications related to the administrator account will be sent.
Voila – and WordPress is installed. Now let’s download a theme and plugins. To download and activate a theme, enter:
wp theme install themename --activate
To download and activate plugins, enter:
wp plugin install pluginname --activate
At this point, we can say that WordPress is fully installed – and ready for content entry. As you can see, there was no need to perform any actions in a browser.
What else can you do with WP-CLI?
Of course, WP-CLI is not limited to deploying WordPress alone – it also offers a range of commands useful for administering a site.
Deactivate a plugin
Is a plugin slowing down your site? You don’t need to waste valuable minutes logging into the dashboard, navigating to the installed plugins section, and manually searching for the plugin. Just enter the following command:
wp plugin deactivate pluginname
Upon entering the command, the specified plugin will be deactivated.
Create a new database
Do you want to create a database needed for a new site? Type:
wp db create
And you’ll create a database quickly.
Updates
Are you planning to update an installed theme? Instead of multiple clicks in the WordPress dashboard, all you need to do is type:
wp theme update themename
Similarly, you can easily update WordPress and installed plugins using the WP-CLI tool. Here’s how to do it:
- Update WordPress: To update WordPress to the latest version, use the following command:
wp core update
- Update plugins: To update all installed plugins to their latest versions, enter the following command:
wp plugin update --all
If you want to update a specific plugin, use this command, replacing “pluginname” with the actual name of the plugin:
wp plugin update pluginname
These are just simple examples, of course. However, from the command line, you can not only create a post but also fill in its content, schedule publication, or add meta data. If you want to do such things, familiarize yourself with the full list of commands in the technical documentation.
You can also enter wp help in the command line.
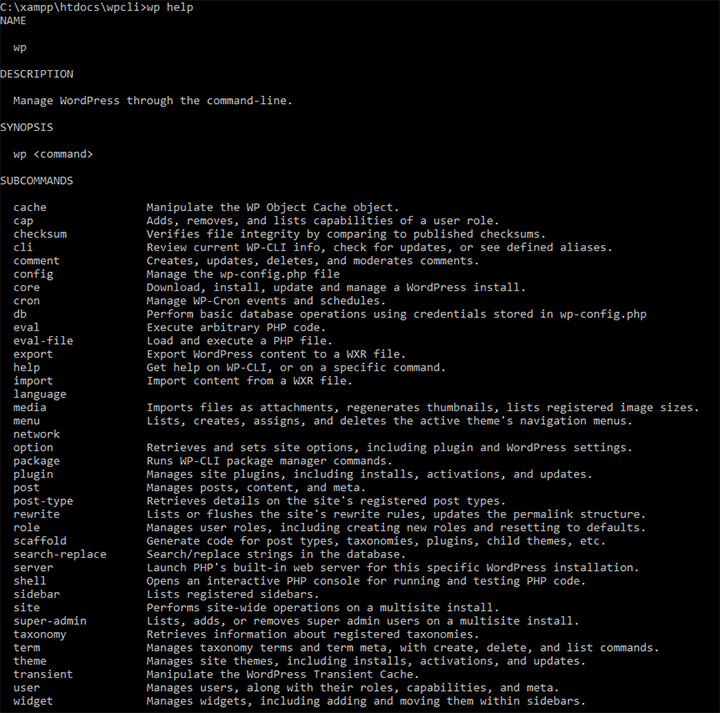
Indeed, the list of commands in WP-CLI is extensive, as this tool allows you to do everything the WordPress admin dashboard does.
You don’t need to launch a browser to make changes to an installed WordPress site. In fact, you don’t even need to launch it to install the CMS on a server or perform batch operations on media files in WordPress. WP-CLI is definitely worth trying, as it may completely change your approach to managing the WordPress engine.
WordPress Web Hosting? Only with WP-CLI
Choosing a shared hosting for your WordPress-based website, it’s essential to pay attention to SSH (Secure Shell) access and support for WP-CLI (WordPress Command Line Interface). Here are some reasons why these features are important:
Control and Flexibility
SSH access enables remote server management through the command line. This allows for greater control and flexibility in server configuration, as well as installation and management of applications like WordPress.
Security
SSH offers a secure connection to the server, ensuring the protection of data transmitted between the client and the server. This is particularly important when transferring sensitive information, such as login credentials or website content.
Automation
WP-CLI allows for the automation of many tasks related to WordPress management, such as updates, backups, plugin and theme management, and much more. Automating these processes can significantly streamline website management and save time that can be devoted to website development.
Speed
Managing a site using WP-CLI can be faster than using the WordPress admin dashboard, especially when performing more advanced tasks. The command line also allows for executing multiple tasks simultaneously, which can speed up administrative work.
Troubleshooting
Access to SSH and WP-CLI can be incredibly helpful in diagnosing and resolving issues related to the server or the website. Entering the appropriate commands in the command line allows for quick identification and resolution of errors.
SSH access and WP-CLI support on shared hosting are crucial because they increase control, security, automation, speed, and troubleshooting capabilities related to managing a WordPress website. Before choosing a hosting provider, it’s essential to pay attention to these features to ensure smooth and efficient management of your site.
Source (in Polish): https://jakwybrachosting.pl/wp-cli/
About the Author

Mateusz Mazurek – The creator of the website “Jak Wybrać Hosting” (“How to Choose Web Hosting“) is a person who tests, reviews, and compares hosting services. In addition, he publishes guides dedicated to creating, managing, and promoting websites.


